De-Google my life - Part 4 of ¯ (ツ)_/¯: Dokuwiki & Ghost
Hello everyone! Welcome to the fourth post of my blogseries “De-Google my life”. If you haven’t read the other ones you definitely should! (Part 1, Part 2, Part 3).
First of all, sorry for the long wait. I had a couple of IRL things to take care of (we will discuss those in further posts, I promise ( ͡° ͜ʖ ͡°)), but now I have plenty of time to work on more blog posts and other projects. Thanks for sticking around, and if you are new, welcome to this journey!
On this post, we get to the fun part: What am I going to do to improve my online presence? I began with the simplest answer: A blog (this very same blog you are reading right now lol)
Ghost
Ghost is an open source, headless blogging platform made in NodeJS. The community is quite large and most importantly, it fitted all my requirements (Open source and runs in a docker container).
For the installation, I kept it simple. I went to the DockerHub page for Ghost and used their base docker-compose config for myself. This is what I came up with:
version: '3.1'

services:

    ghost:
    image: ghost:1-alpine
    restart: always
    ports:
        - 7000:2368
    environment:
        database__client: mysql
        database__connection__host: db
        database__connection__user: root
        database__connection__password: my_super_secure_mysql_password
        database__connection__database: ghost
        url: https://blog.rogs.me

    db:
    image: mysql:5.7
    restart: always
    environment:
        MYSQL_ROOT_PASSWORD: my_super_secure_mysql_password
Simple enough. The base ghost image and a MySQL db image. Simple, readable, functional.
For the NGINX configuration I used a simple proxy:
server {
    listen 80;
    listen [::]:80;
    server_name blog.rogs.me;
    add_header Strict-Transport-Security "max-age=15552000; includeSubDomains" always;

    location / {
        proxy_pass http://127.0.0.1:7000;
        proxy_next_upstream error timeout invalid_header http_500 http_502 http_503;
        proxy_set_header Host $host;
        proxy_set_header X-Real-IP $remote_addr;
        proxy_set_header X-Forward-For $proxy_add_x_forwarded_for;
        proxy_set_header X-Forwarded-Proto https;
        proxy_redirect off;
        proxy_read_timeout 5m;
    }
    client_max_body_size 10M;
}
What does this mean? This config is just “Hey NGINX! proxy port 7000 through port 80 please, thanks”
And that was it. So simple, there’s nothing much to say. Just like the title of the series,¯\_(ツ)_/¯

After that, it was just configuration and setup. I modified this theme to match a little more with my website colors and themes. I think it came out pretty nice :)
Dokuwiki
I have always admired tech people that have their own wikis. It’s like a place where you can find more about them in a fast and easy way: What they use, what their configurations are, tips, cheatsheets, scripts, anything! I don’t consider myself someone worthy of a wiki, but I wanted one just for the funsies.
While doing research, I found Dokuwiki, which is not only open source, but it uses no database! Everything is kept in files which compose your wiki. P R E T T Y N I C E.
On this one, DockerHub had no oficial Dokuwiki image, but I used a very good one from the user mprasil. I used his recommended configuration (no docker-compose needed since it was a single docker image):
docker run -d -p 8000:80 --name my_wiki \
    -v /data/docker/dokuwiki/data:/dokuwiki/data \
    -v /data/docker/dokuwiki/conf:/dokuwiki/conf \
    -v /data/docker/dokuwiki/lib/plugins:/dokuwiki/lib/plugins \
    -v /data/docker/dokuwiki/lib/tpl:/dokuwiki/lib/tpl \
    -v /data/docker/dokuwiki/logs:/var/log \
    mprasil/dokuwiki
Some mistakes were made, again
I was following instructions blindly, I’m dumb. I mounted the Dokuwiki files on the /data/docker directory, which is not what I wanted. In the process of working on this project, I have learned one big thing:
Always. check. installation. folders and/or mounting points
Just like the last one, I didn’t want to fix this just for the posts, I’m writing about my experience and of course it wasn’t perfect.
Let’s continue. Once the docker container was running, I configured NGINX with another simple proxy redirect:
server {
    listen 80;
    listen [::]:80;
    server_name wiki.rogs.me;
    add_header Strict-Transport-Security "max-age=15552000; includeSubDomains" always;

    location / {
        proxy_pass http://127.0.0.1:8000;
        proxy_next_upstream error timeout invalid_header http_500 http_502 http_503;
        proxy_set_header Host $host;
        proxy_set_header X-Real-IP $remote_addr;
        proxy_set_header X-Forward-For $proxy_add_x_forwarded_for;
        proxy_set_header X-Forwarded-Proto https;
        proxy_redirect off;
        proxy_read_timeout 5m;
    }
    client_max_body_size 10M;
}
Just as the other one: “Hey NGINX! Foward port 8000 to port 80 please :) Thanks!”

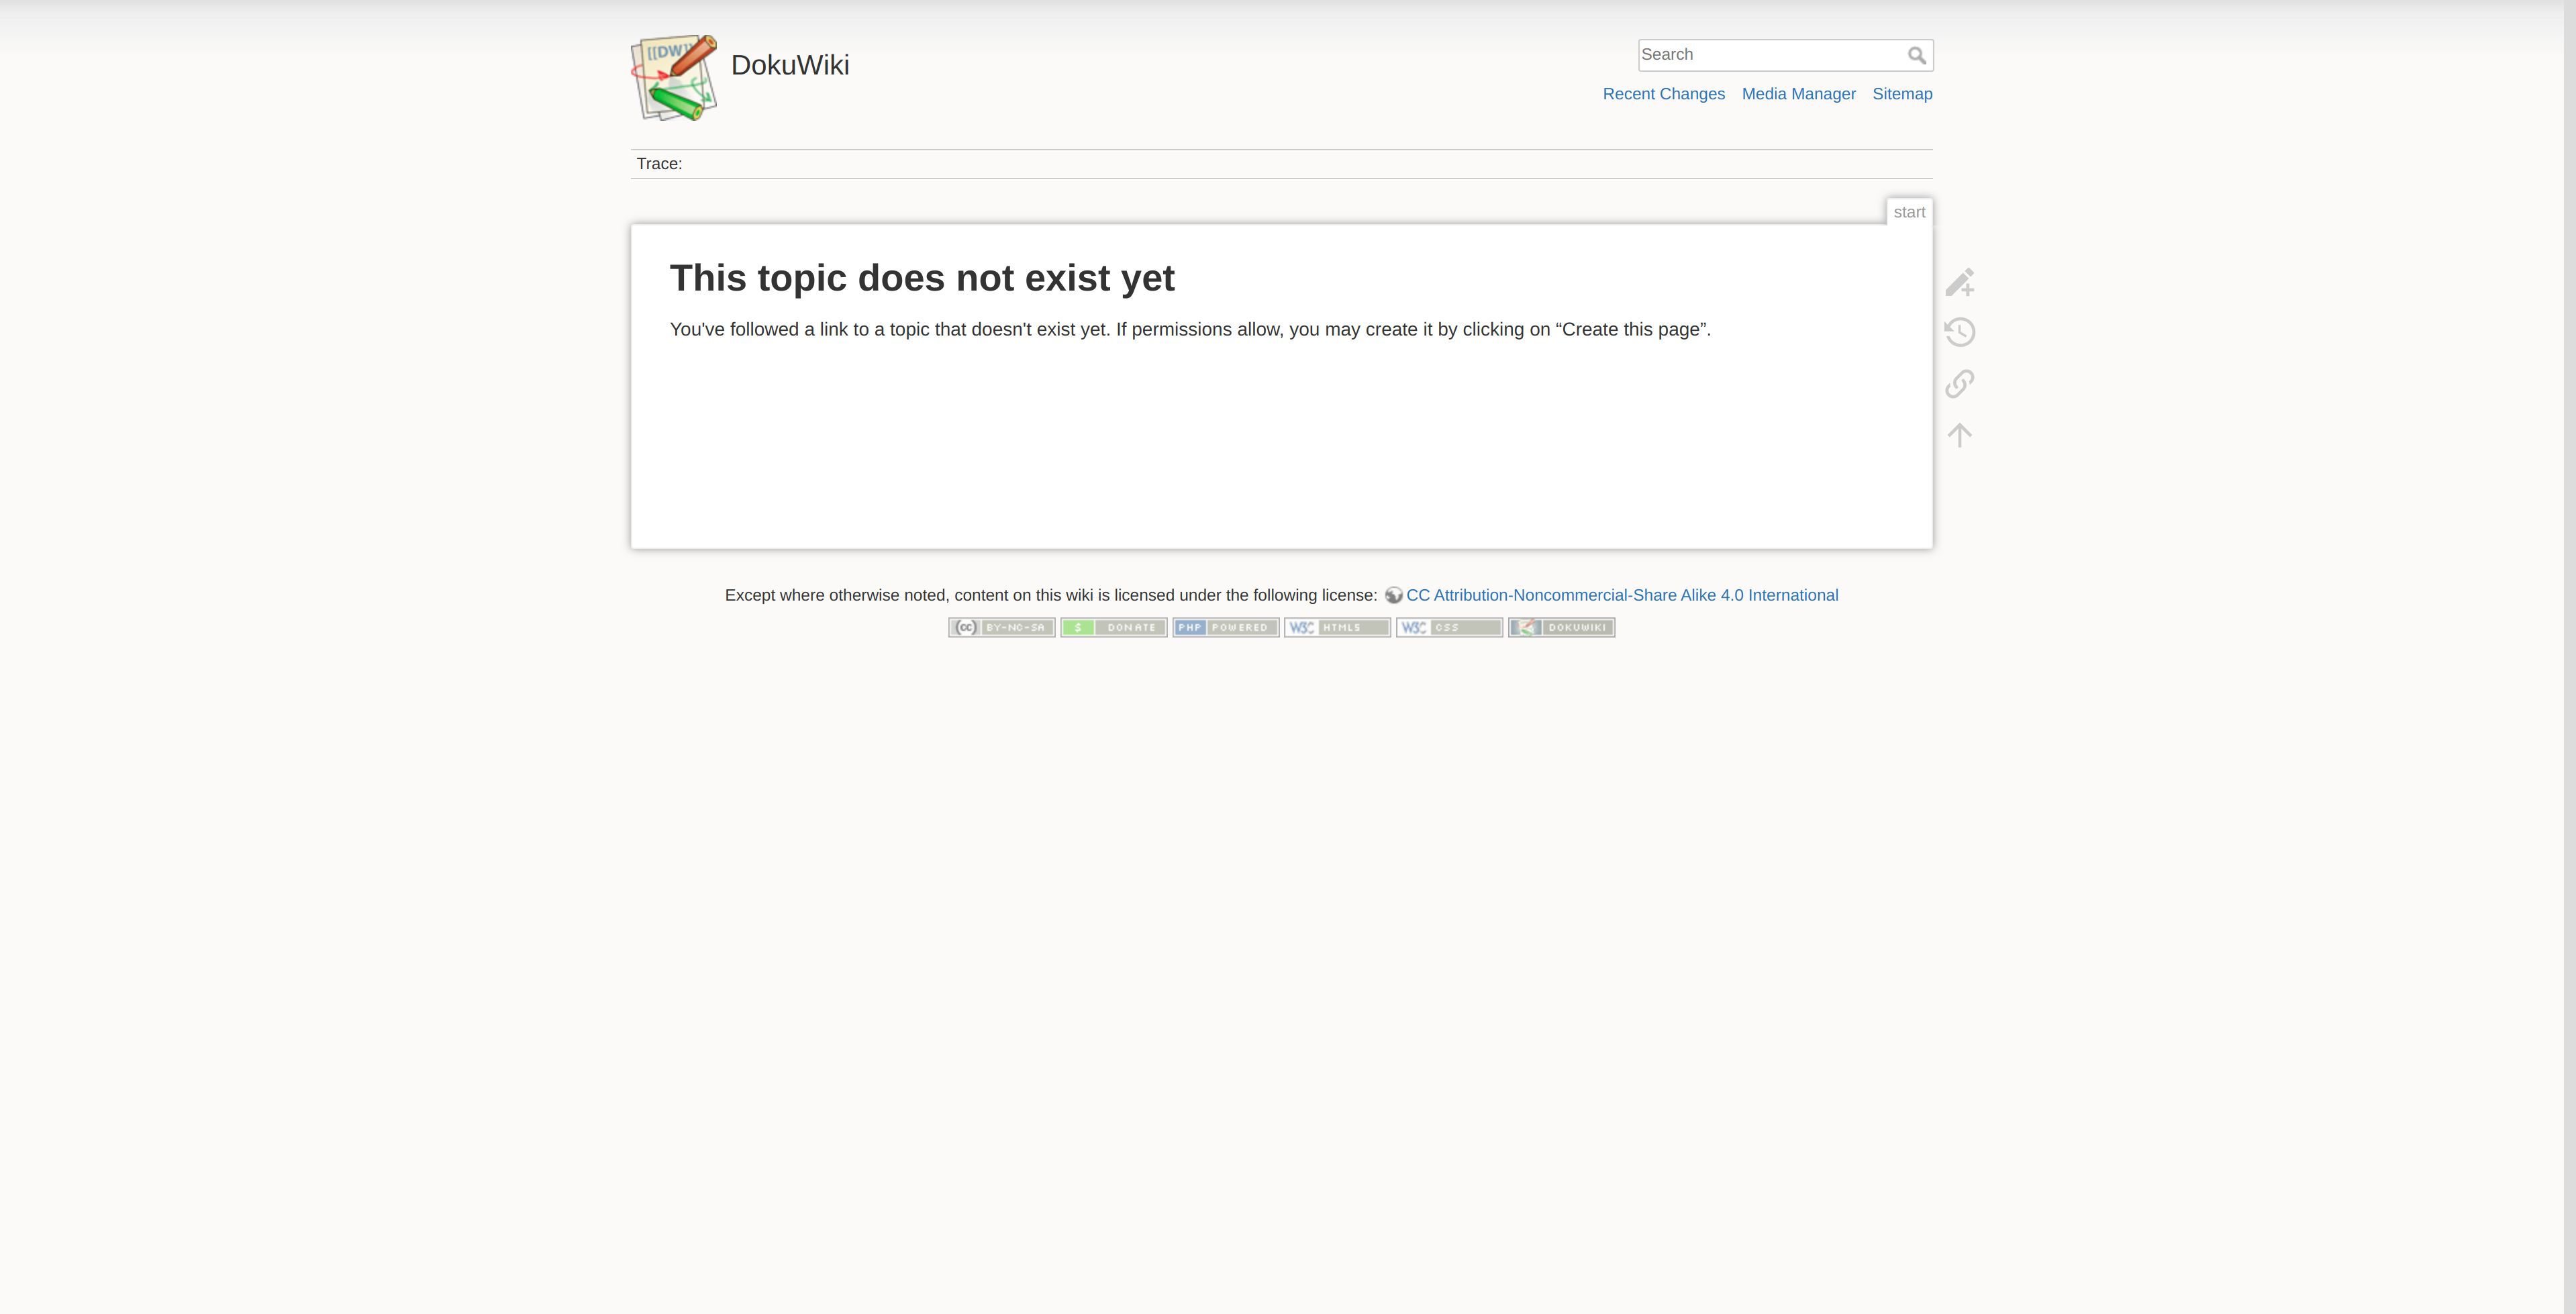
Simple dokuwiki screen, nothing too fancy
Again, just like the other one, configuration and setup and voila! Everything was up and running.
Conclusion
I was getting the hang of this “Docker” flow. There were mistakes, yes, but nothing too critical that would hurt me in the long run. Everything was running smoothly, and just with a few commands I had everything running and proxied. Just what I wanted.
Stay tuned for the next delivery, where I’m going to talk about GPG encrypted backups to an external Wasabi “S3 like” bucket. I promise this one won’t take 8 months.
